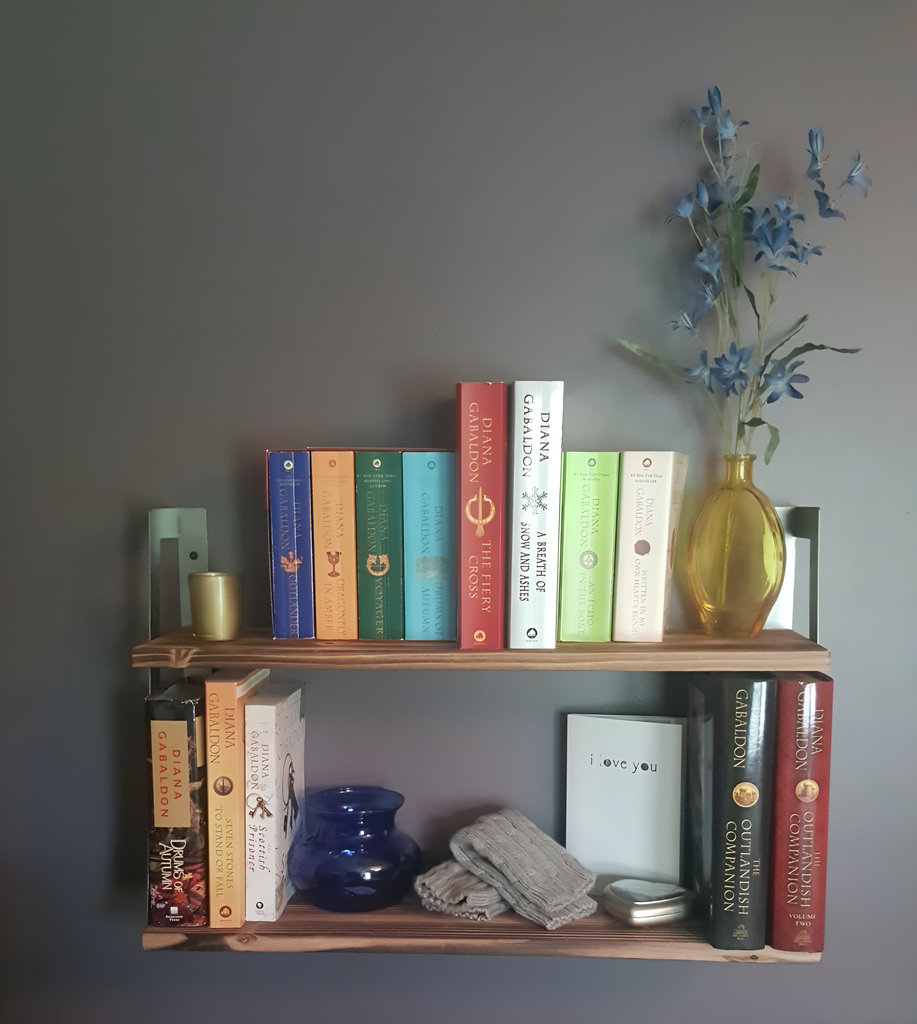
Transform Your Space with Confidence and Style by Ensuring Your Shelves Hold Strong
Floating shelves are a modern marvel in home decor, offering a sleek and minimalist way to display your favorite items. However, when it comes to placing heavy objects on these shelves, many homeowners hesitate, fearing potential accidents or damage. Fear not! With the right techniques and tools, you can confidently secure heavy items on floating shelves, transforming your space into a stylish and safe haven.
Understanding the Basics of Floating Shelves
Before diving into the step-by-step guide, it's essential to understand what makes floating shelves unique. Unlike traditional shelves, floating shelves are mounted directly onto the wall without visible brackets or supports. This design gives them a "floating" appearance, making them a popular choice for modern interiors. However, this also means that proper installation is crucial to ensure they can support heavier items.
Step 1: Choose the Right Shelf and Brackets
The first step in securing heavy items is selecting the appropriate shelf and brackets. Not all floating shelves are created equal, and some are better suited for heavy loads than others.
- Material Matters: Opt for shelves made from sturdy materials like solid wood or metal. These materials are more durable and can support more weight compared to particleboard or MDF.
- Bracket Strength: Invest in high-quality, heavy-duty brackets designed to hold significant weight. Look for brackets with a high weight capacity and made from robust materials like steel.
Step 2: Locate the Wall Studs
For maximum stability, it's crucial to mount your floating shelves into wall studs. Wall studs provide a solid anchor point, ensuring your shelves can support heavy items without sagging or falling.
- Stud Finder: Use a stud finder to locate the studs in your wall. Mark the center of each stud with a pencil.
- Spacing: Ensure that the brackets align with the studs for optimal support.
Step 3: Install the Brackets
With your studs located and marked, it's time to install the brackets.
- Drill Pilot Holes: Using a drill, create pilot holes in the wall where you've marked the studs. This will make it easier to insert the screws and prevent the wall from cracking.
- Secure the Brackets: Attach the brackets to the wall using heavy-duty screws. Ensure they are level and tightly secured.
Step 4: Mount the Shelf
Once the brackets are securely in place, you can mount the shelf.
- Align the Shelf: Carefully place the shelf onto the brackets, ensuring it is level and properly aligned.
- Secure the Shelf: Depending on the design of your brackets, you may need to use additional screws or fasteners to secure the shelf to the brackets.
Step 5: Distribute Weight Evenly
When placing heavy items on your floating shelves, it's essential to distribute the weight evenly. This will prevent any single point from bearing too much weight, reducing the risk of the shelf sagging or collapsing.
- Heaviest Items First: Place the heaviest items closest to the wall, directly above the brackets. This provides the most support and stability.
- Balance the Load: Arrange items so that the weight is evenly distributed across the entire shelf.
Step 6: Regular Maintenance and Checks
To ensure your floating shelves remain secure over time, regular maintenance is key.
- Check for Sagging: Periodically inspect your shelves for any signs of sagging or instability.
- Tighten Screws: Over time, screws may loosen. Regularly check and tighten them as needed.
Securing heavy items on floating shelves doesn't have to be daunting. By following these steps and using the right materials and tools, you can confidently display your cherished items without worry. Whether you're showcasing a collection of books, art pieces, or decorative items, floating shelves offer a stylish and functional solution.
Ready to transform your space? Explore our collection of modern wall shelves and find the perfect style to complement your home. With a variety of designs and finishes, you're sure to find the ideal shelves to elevate your decor. Don't wait—start your journey to a more organized and aesthetically pleasing home today!
Make It Yours at Peter's Good Collection

